containerd常见命令

背景

自docker hub以及各种源被墙之后, 阿里云的ack服务就拉取不到docker镜像啦, ack服务底层又是使用containerd, 所以手动使用docker 命令拉取镜像也不可以,需要使用 containerd 对应的命令, 比如 crictl.

但是 crictl 不支持 http_proxy, 所以使用 ctr

1
2
3
4
5
6
7
8
9
10
11
12
13
14
15
# 使用代理
export https_proxy=http://127.0.0.1:7890;export http_proxy=http://127.0.0.1:7890;export all_proxy=socks5://127.0.0.1:7890

# 查看命名空间
ctr namespaces list

# 查看镜像列表
ctr -n k8s.io images list

# 拉取获取推送
ctr -n k8s.io images pull -u username:pass registry.niumag.com/namespace/image:snap
ctr -n k8s.io images push -u username:pass registry.niumag.com/namespace/image:snap

# 删除
ctr -n k8s.io images rm registry.niumag.com/namespace/image:snap

nodejs 打印标签

背景

公司有需求, 打印一些小票

  1. 直接搜索 node-printer 或者 node-thermal-printer 都太古老了。
  2. windows 自带的打印命令 不好调试
  3. 这里分享下使用 TSPL指令条码打印机 的一些解决方案

TSPL

示例

1
2
3
4
5
SIZE 60 mm,40 mm\r\n
GAP 2 mm\r\n
CLS\r\n
TEXT 50,50,\"4\",0,1,1,\"DEMO FOR TEXT\"\r\n
PRINT 1,1\r\n

文档

https://open.jolimark.com/files/tspl.pdf

步骤

  1. 找到设备端口
1
2
3
4
5
6
const usb = require('usb');

const list = usb.getDeviceList()
list.forEach(device => {
console.log(`Device: ${device.deviceDescriptor.idVendor}:${device.deviceDescriptor.idProduct}`);
});
  1. 连接设备
1
2
3
4
5
6
7
8
9
10
let device = usb.findByIds(1137, 85)
console.log('device is ', device);

device.open();
device.interfaces[0].claim();
const outEndpoint = device.interfaces[0].endpoints.find(e => e.direction === 'out');
outEndpoint.transferType = 2;
outEndpoint.transfer(Buffer.from(cmds.join('\r\n')), (err) => {
device.close();
});
  1. [选填] windows 需要刷新设备的驱动,可以参考 usb 的文档

    On Windows, if you get LIBUSB_ERROR_NOT_SUPPORTED when attempting to open your device, it’s possible your device doesn’t have a WinUSB driver for libusb to use.

    You can install one using Zadig or another approach is to use the UsbDK Backend of libusb by immediately calling usb.useUsbDkBackend().

    Note that you cannot use multiple drivers on Windows as they get exclusive access to the device. So if you want to switch between drivers (e.g. using a printer with this software or the system), you will need to uninstall/install drivers as required.

    For further info, check How to use libusb on Windows in the libusb’s wiki.
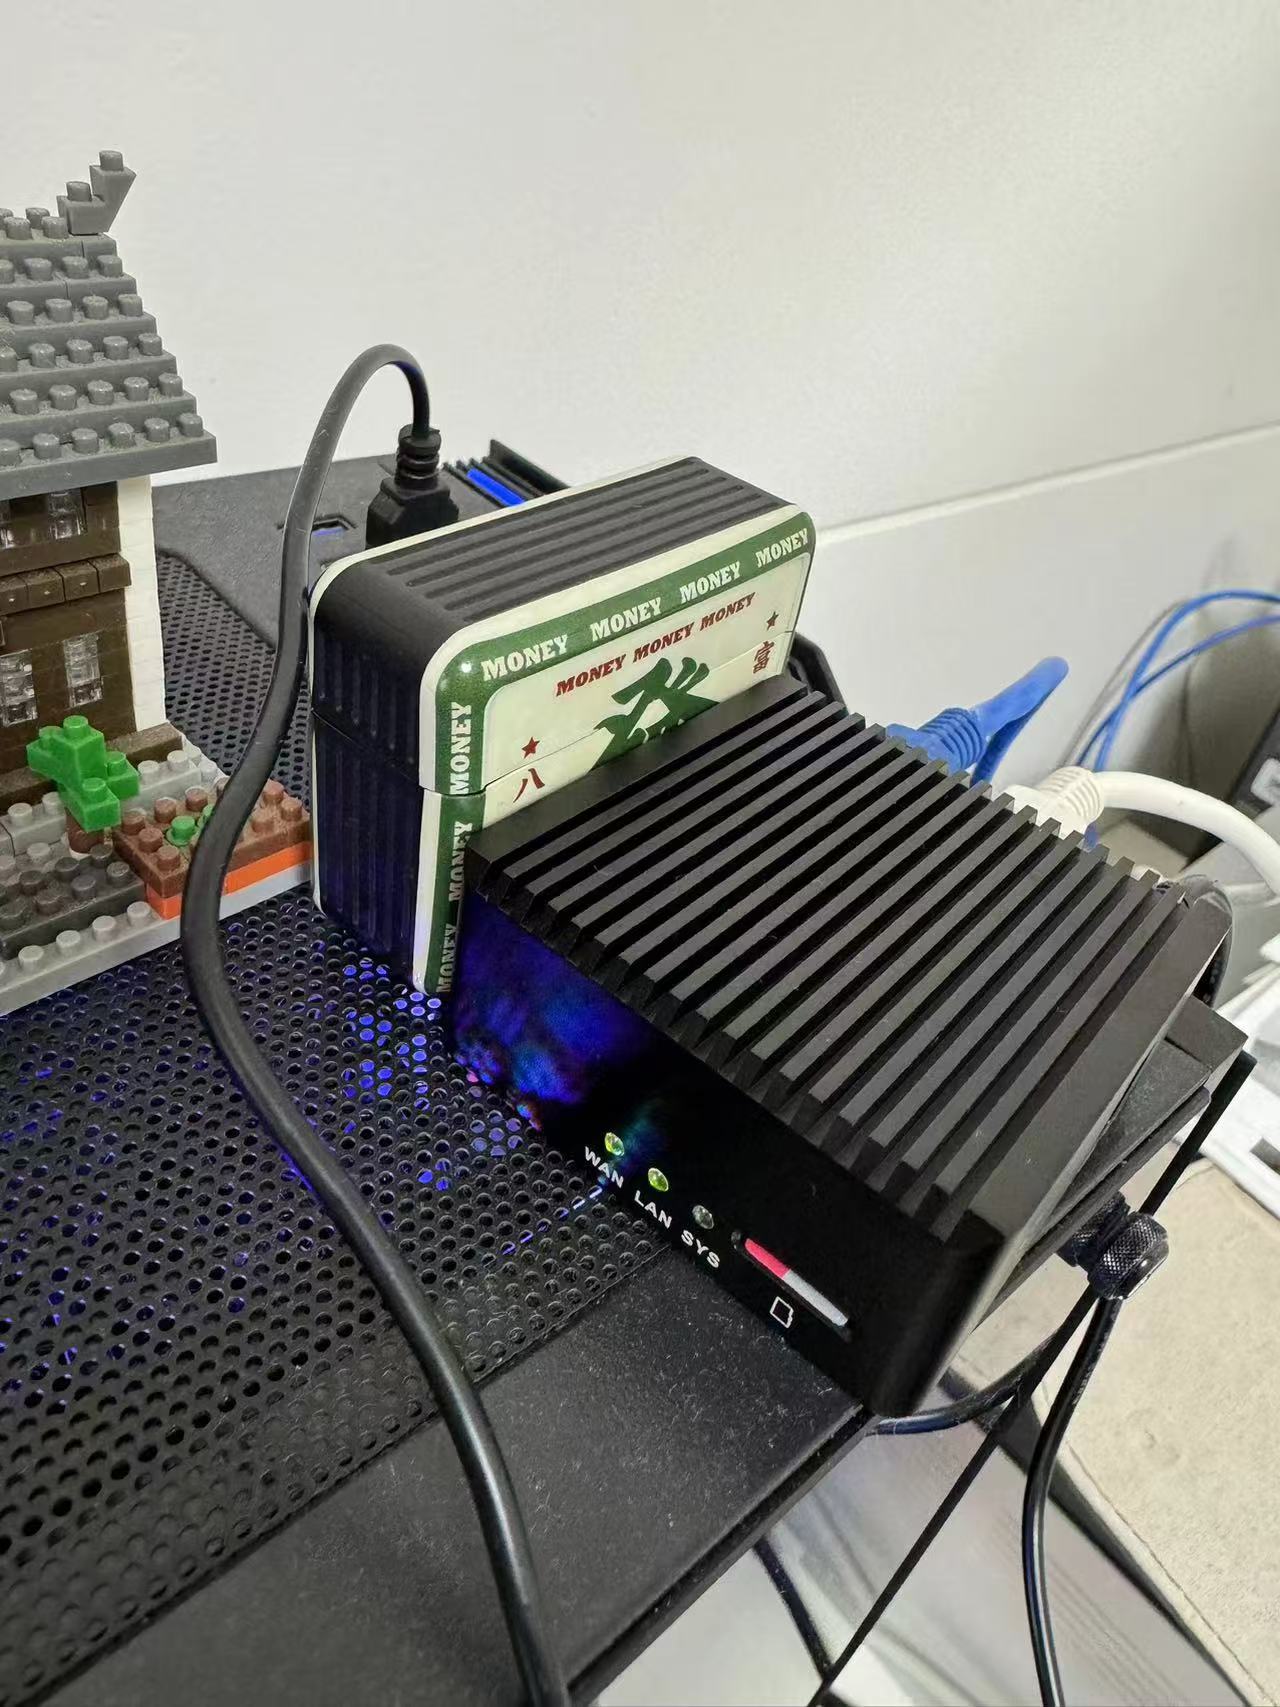
刷后的效果 如图

完整代码

1
2
3
4
5
6
7
8
9
10
11
12
13
14
15
16
17
18
19
20
21
22
23
24
25
26
27
28
29
const usb = require('usb');

const cmds = [
'SIZE 48 mm,25 mm',
'CLS',
'TEXT 10,10,"4",0,1,1,"HackerNoon"',
'TEXT 10,40,"4",0,1,1,"amano"',
'BARCODE 10,100,"128",90,1,0,2,2,"altospos.com"',
'PRINT 1',
'END',
];

// you can get all available devices with usb.getDeviceList()
const list = usb.getDeviceList()
console.log('list is ', list);
list.forEach(device => {
console.log(`Device: ${device.deviceDescriptor.idVendor}:${device.deviceDescriptor.idProduct}`);
});
// let device = list[0]
let device = usb.findByIds(1137, 85)
console.log('device is ', device);

device.open();
device.interfaces[0].claim();
const outEndpoint = device.interfaces[0].endpoints.find(e => e.direction === 'out');
outEndpoint.transferType = 2;
outEndpoint.transfer(Buffer.from(cmds.join('\r\n')), (err) => {
device.close();
});

centos 安装 mysqlclient 报错

问题

  1. 使用django的框架时, 发现服务端安装 mysqlclient 报错
  2. 使用 mysql-connector-python 代替 mysqlclient, 但会发现 USE_TZ 相关的配置不支持,导致数据的时间变成UTC格式,直观上有时差

解决 TL;DR

切换sql-connector-python会导致上面的问题2,所以直接降级 mysqlclient 就好

1
pip install mysqlclient==2.0.0

博客历程

心路历程

初心是买一个软路由的硬件设备, 最终选了 r2s, r2s内置的是Openwrt 的系统,但是有些预装软件不全面, 就自己刷了系统, 不小心刷盘的时候把树莓派的移动硬盘刷掉了 /(ㄒoㄒ)/~~, 最终只能重新搭建博客啦~

选型历程

之前的博客是ghost, 类似于wordpress, 好处是有一个online的后台管理, 可以方便的记录博客。
hexo 的文件可以存在在git中, 就是写作方式没有那么随意了,图片的防止也没有那么方便, 但是苛刻的书写环境,也能让内心更加平静, 也算是一种不错的体验。

技术栈

  1. 项目存储在github中
  2. 服务运行在wrt中(实际是局域网内部的pi中)
  3. 网络通过frp转发到aliyun的含公网的服务器,服务器运行了traefix, 自动授权证书等一些网关功能
  4. 推送代码后, github 的webhook 会通知wrt 的webhook, 继而更新wrt中的服务
  5. 服务的开机自启动通过 sudo update-rc.d -n startblog.sh defaults 实现,脚本参考(默认有热更新功能)
1
2
3
4
pi@amanospi:/etc/init.d $ cat startblob.sh

cd /home/pi/amano/amanosblog
npx hexo server &

补充

  1. 本片文章的时间调整成了hello world 的时间, 然后就要删除自带的hello world 啦
  2. 硬件本身只和耳机一样大小